
Are you a WebHost Reseller? Just have purchased a Reseller Hosting plan & need to add value to your Brand Name? Well, you can set your Branded Nameservers for the cPanel Accounts under you in WHM. It will add some value to your Brand Name. Let’s learn How to set custom Nameservers for cPanel Accounts in WHM.
How to set custom Nameservers for cPanel Accounts in WHM
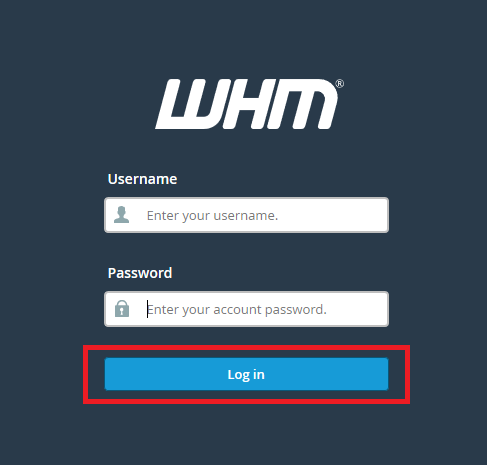
STEP 1: Log into your WHM Account using your Username & Password.

STEP 2: Once you’re logged in search for ‘Basic WebHost Manager® Setup’ under ‘Server Configuration’ tab on the left pan. Click on it.
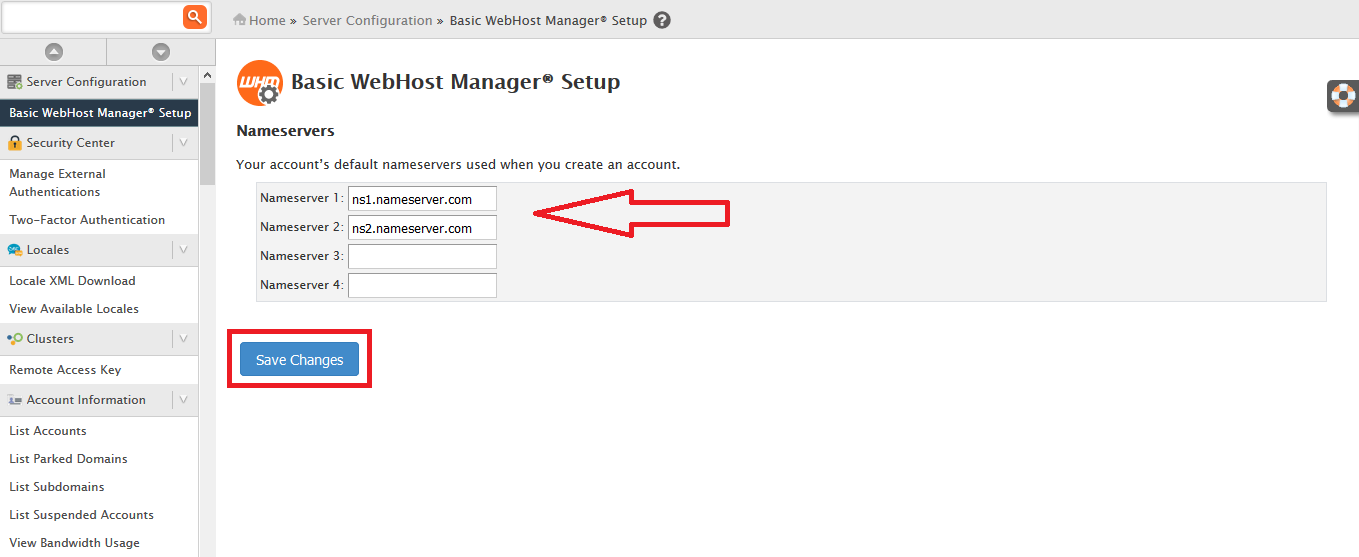
STEP 3: In the ‘Basic WebHost Manager® Setup’ screen you’ll find fields to enter your Branded Nameservers. Enter Nameservers carefully & click on ‘Save Changes’ button.
Hurray! You’ve set your Branded Nameservers for cPanel Accounts registered under you.
We hope this tutorial helps you find the perfect solution. If your like our tutorials, definitely you’ll love our support. All VernalWeb hosting plans include 24/7 support from our amazing inhouse support staff. Check out our web hosting plans and have your website migrated today!