
Keep-Alive is a crucial aspect of web server performance that enhances the efficiency of data transfer between a web browser and a server. In simpler terms, it’s like keeping a line open between the two, reducing the time and resources needed to establish new connections for each request. This article will explain what Keep-Alive is and guide you on how to enable it on WHM (Web Host Manager).
What is Keep-Alive?
Keep-Alive is a communication mechanism between a web server and a browser, allowing multiple requests and responses to be sent over a single, persistent connection. Without it, a new connection is established for each request, leading to increased latency and resource consumption.
Keep-Alive is a feature of the web server that enables HTTP request forking through a single TCP connection. This means that instead of opening a new stream for each request, the webserver will slip them through a single one, dramatically increasing the delivery time and improving the loading speed of the website.
Why is it Important?
- Reduced Latency: Keep-Alive minimizes the time it takes to set up a new connection, enhancing the overall speed of content delivery.
- Resource Efficiency: It optimizes server resources by reducing the overhead associated with establishing and closing multiple connections.
- Improved User Experience: Faster loading times contribute to a better user experience, crucial for retaining visitors.
Enabling Keep-Alive on WHM
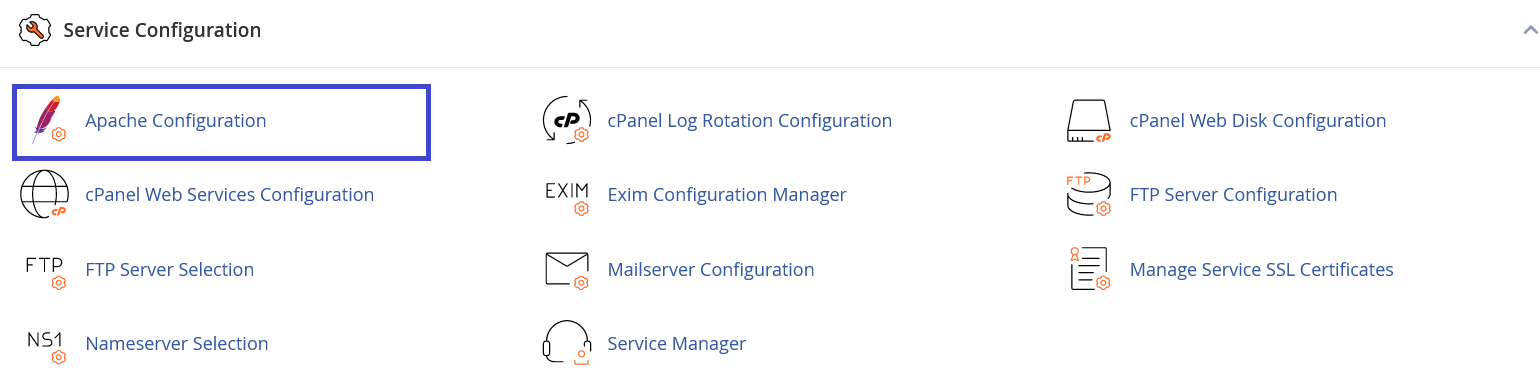
2. Locate the Service Configuration and click on Apache Configuration
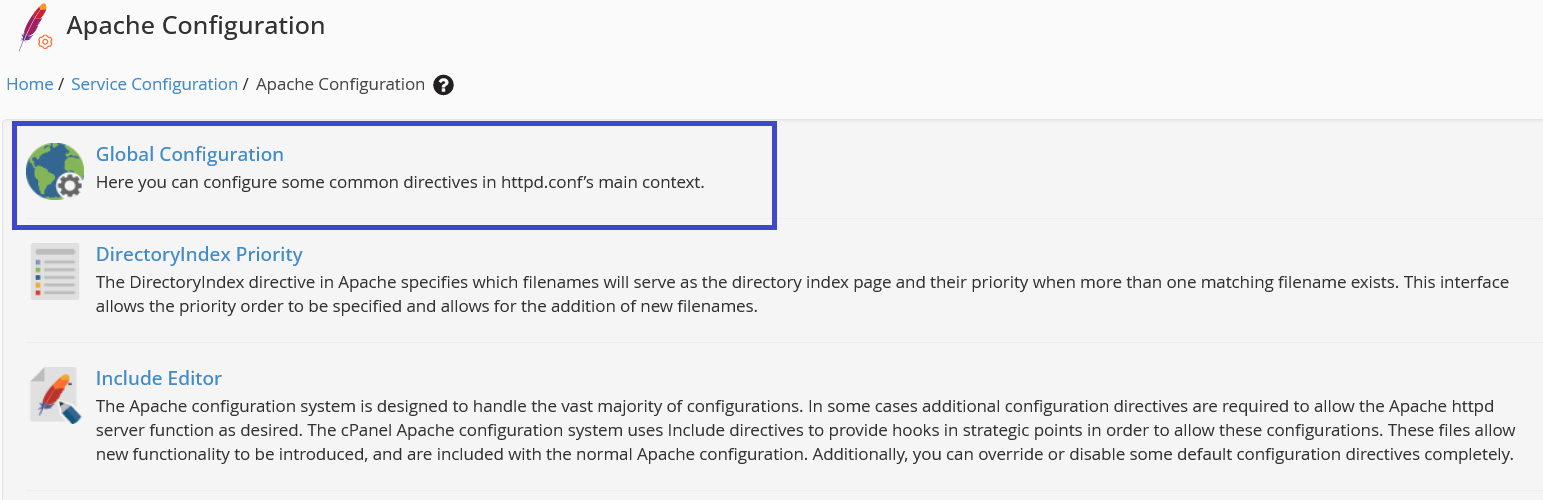
3. Choose Global Configuration
4. Scroll down & locate Keep-Alive

5. Adjust ‘Keep-Alive’ Settings
- Enable: Toggle the switch to enable Keep-Alive.
- Set Keep-Alive Timeout: Specify the time (in seconds) the server should wait for the next request before closing the connection. A common value is 5-10 seconds.
6. Save Changes
7. Restart Apache
For the changes to take effect, restart the Apache web server. This can usually be done within the Restart Services section in WHM.
Conclusion
Keep-Alive is a valuable feature that significantly enhances web server performance by maintaining persistent connections. Enabling this feature on WHM is a straightforward process, and it can lead to improved website speed and resource efficiency. By following the provided steps, you can ensure a smoother browsing experience for your website visitors.