cPanel is the most widely used Control Panel for Linux based Web Hosting Services. If you’re offering cPanel as your hosting control panel you’ll need to provide cPanel Accounts to your clients to help them in managing their Hosting Space. cPanel Accounts can easily be created from WHM (Web Host Manager). Here is a step by step guide on How to Create cPanel Account in WHM.
How to Create cPanel Account in WHM:
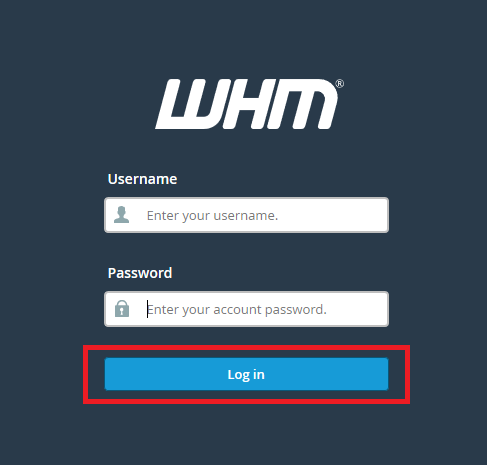
STEP 1: Log into your WHM panel using your Username & Password.
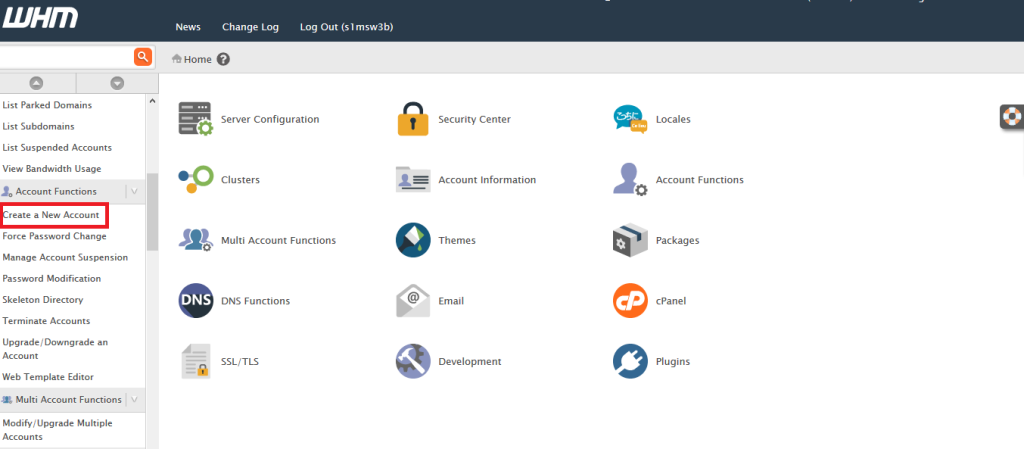
STEP 2: Check if you have created any hosting package, if you have created one search for ‘Create a New Account’ under ‘Accounts Function’ on the left pan. If you haven’t created any Hosting Package follow this guide to Create Hosting Packages.
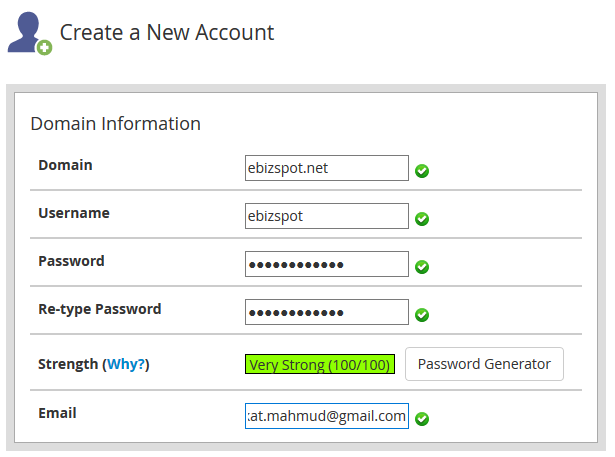
STEP 3: On the ‘Create a New Account’ screen, fill in the domain information carefully.
STEP 4: Choose a Package.
STEP 5: Check ‘Enable DKIM on this account’ & “Enable SPF on this account’ & click on ‘Create’ button.
Congrats! You have successfully created a cPanel Account.
We hope this tutorial helps you find the perfect solution. If your like our tutorials, definitely you’ll love our support. All VernalWeb hosting plans include 24/7 support from our amazing inhouse support staff. Check out our web hosting plans and have your website migrated today!


