
Email signature is an important making your identity in your emails. It contains your personal & business information. So it’s very important & every user should now how to set up & use it properly. You can set up HTML formatted signature in your webmail using two interfaces – Roundcube & Horde.
You can access your webmail using this link:
www.yourdomain.com/webmail
or
www.yourdomain.com:2096
If you still haven’t created any email account in your cpanel, follow this guide.
Let’s learn how to set up email signature in cPanel webmail:
Roundcube
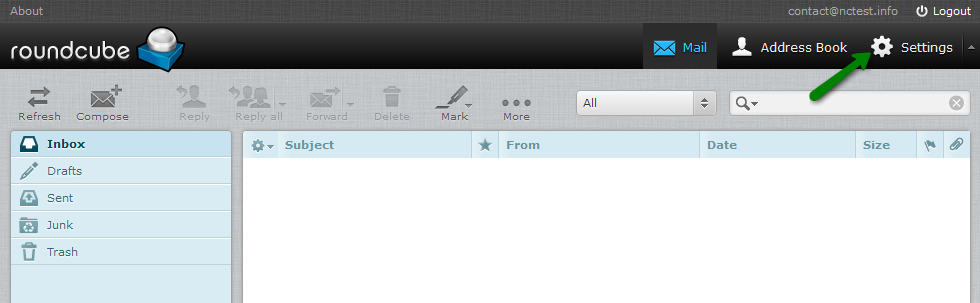
Step 1: Log into your webmail
Step 2: click on Settings in the upper right corner of the screen
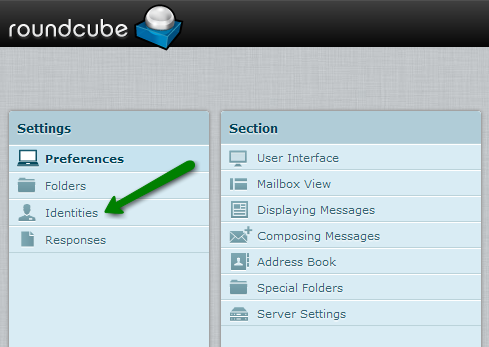
Step 3: Under Settings, click on the Identities
Step 4: Double click on the email ID, for which Signature will be setup.

Step 5: Here you will see the Regular Signature Box where you can create a simple text email signature. If you wish to use HTML, checkmark HTML signature checkbox:
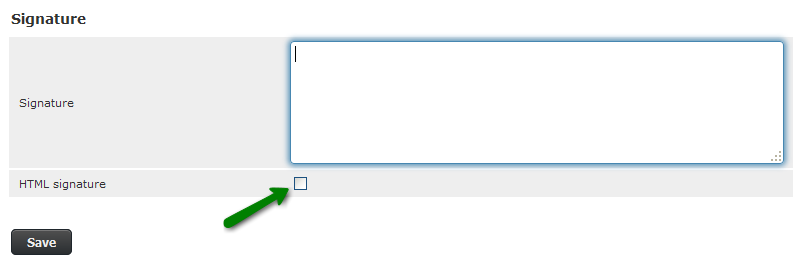
In HTML signature interface you can write HTML code, links or images like logos or anything
Please note that image size must be under 30KB.
Step 6: If your Signature is created, click on the Save button.

And you’re done.
Horde
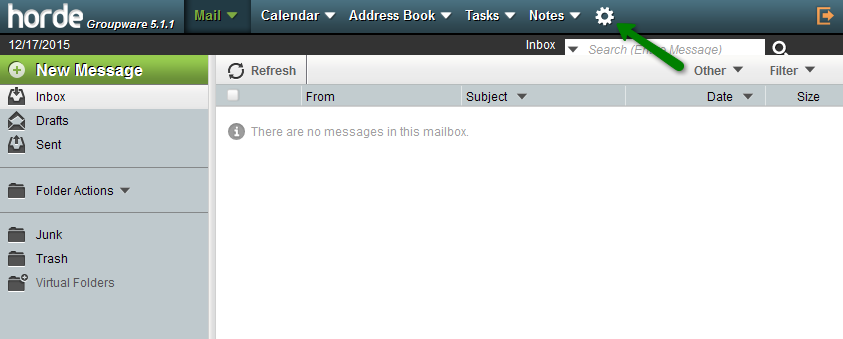
Step 1: Log into your webmail and Hover over the GEAR ICON
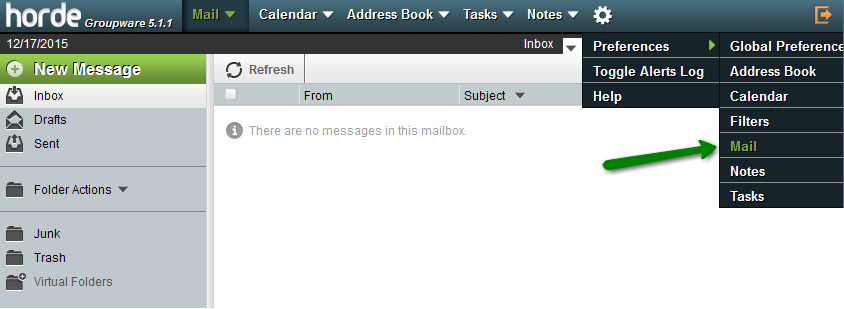
Step 2: Hover over the Preference under GEAR ICON and click on the Mail option.
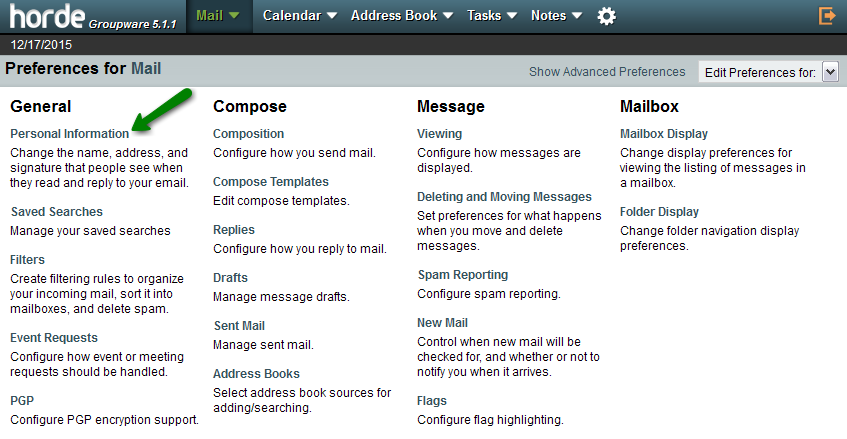
Step 3: Click on the Personal Information section.
Step 4: Now scroll down to the Your signature section and input your Signature content. Under this section, you can create HTML-Formatted Signature in the last box.
Step 5: Once you are done, click on the Save button
We hope this tutorial helps you find the perfect solution. If your like our tutorials, definitely you’ll love our support. All VernalWeb hosting plans include 24/7 support from our amazing inhouse support staff. Check out our web hosting plans and have your website migrated today!