
The .htaccess file contains several directives (instructions) that guide the server how to behave in certain scenarios and directly control your your website functions. There are some common directives like redirects and rewriting URLs that can be found in .htaccess file. There are many scripts and content management systems such as WordPress, Joomla and Magento that add directives to the .htaccess so that all functions can run smoothly. You may need to edit .htaccess file for various purposes.
Today we will show you how to create or edit .htaccess file in your cPanel file manager.
Step 1: Login to your cPanel control panel.
Step 2: Under the FILES section, click on the File Manager option.

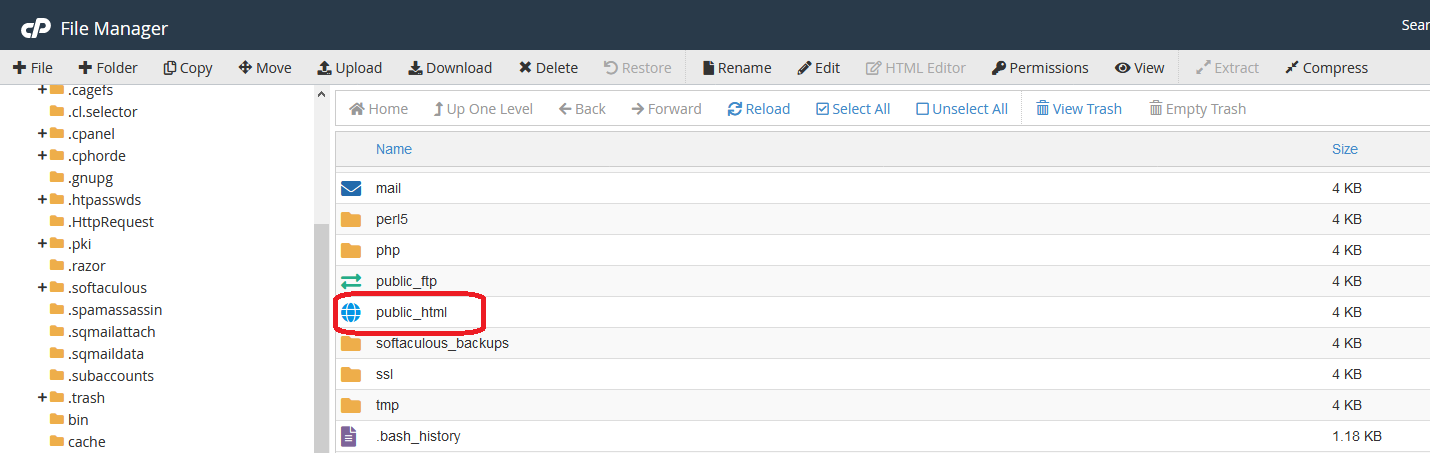
Step 3: Go to the public_html folder.
Step 4: Show hidden files from the settings.
Editing existing .htaccess file
Step 5: If you have an existing .htaccess file, you will see in the public_html folder.
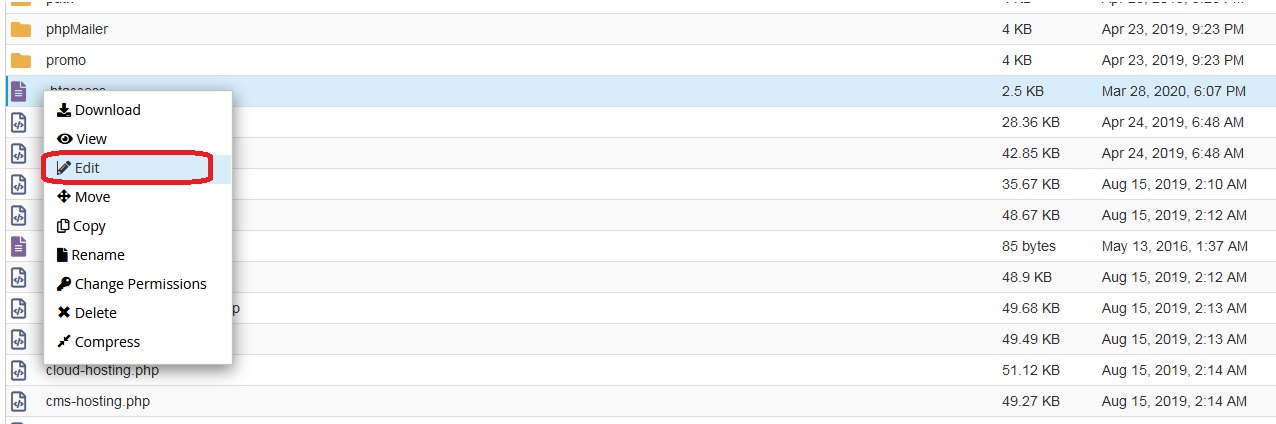
Step 6: Right click on the .htaccess file and click on the Edit menu.
Step 7: Open the file by clicking on the Edit button.
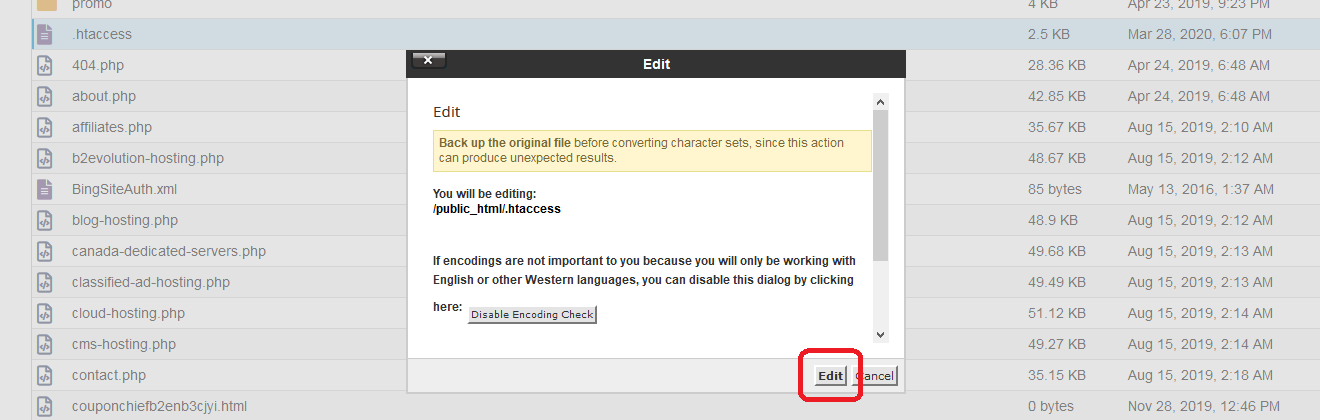
Now you can write in the .htaccess file whatever you need. Don’t forget to click the Save button in the top right corner.
Creating new .htaccess file
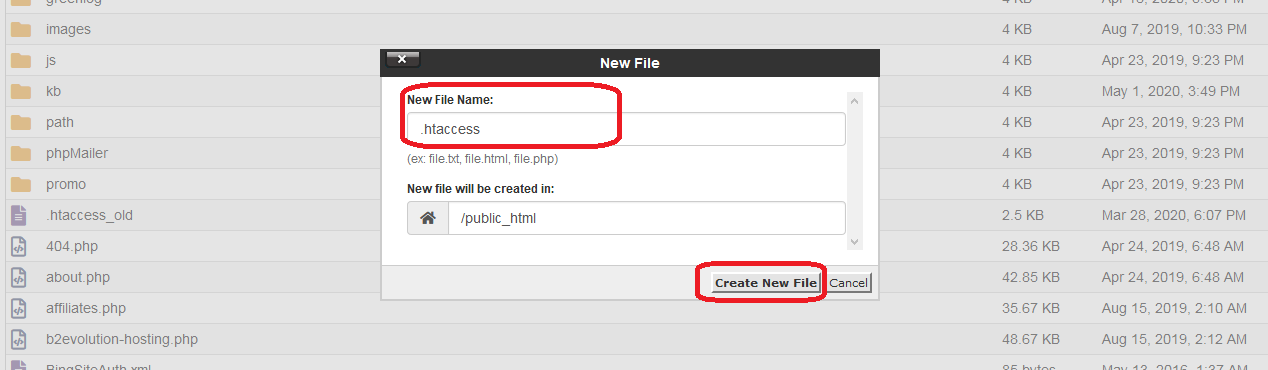
Step 5: Click on the New File option in the top left corner.
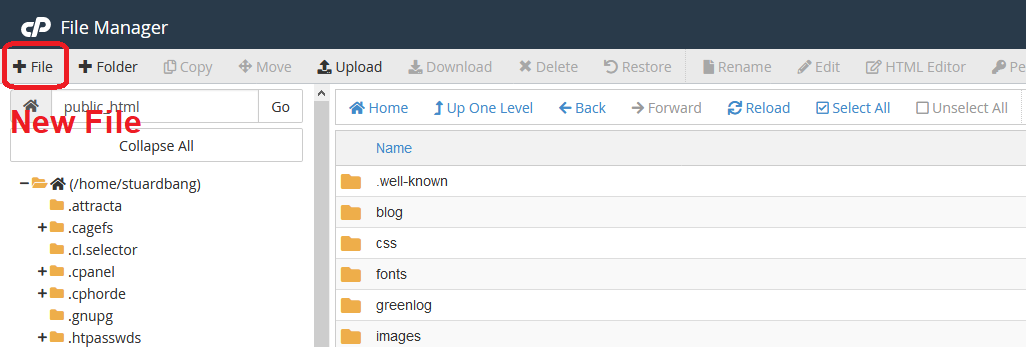
Step 6: Write the file name as .htaccess in the New File Name: field and click on the Create New File button.
Step 7: Now you can write or edit .htaccess file.
You can also create your .htaccess file in your local computer and upload in the file manager.
We hope this tutorial helps you find the perfect solution. If your like our tutorials, definitely you’ll love our support. All VernalWeb hosting plans include 24/7 support from our amazing inhouse support staff. Check out our web hosting plans and have your website migrated today!