
Before you can connect to your databases remotely, the IP working via remote connection has to be allowed on your account’s side. You can configure Remote MySQL Database Connection from cPanel control panel.
Steps to Configure Remote MySQL Connection:
Step 1: Login to your cPanel account.
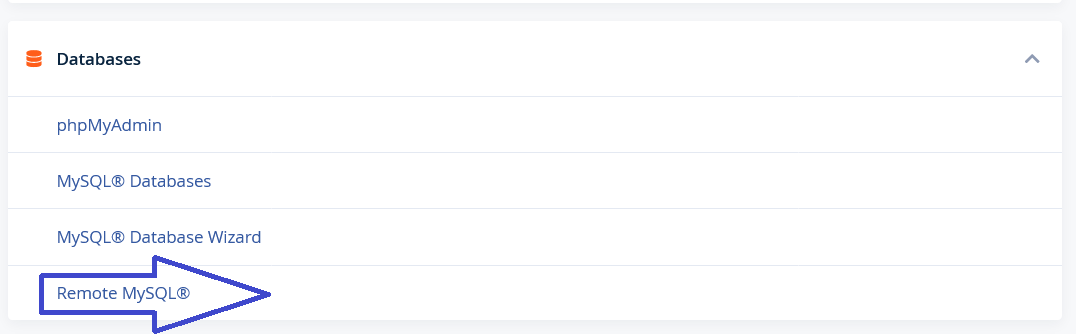
Step 2: Navigate to the Database section and click on Remote MySQL®
Step 3: In the Add Access Host box, enter your remote IP where you want to connect your database.
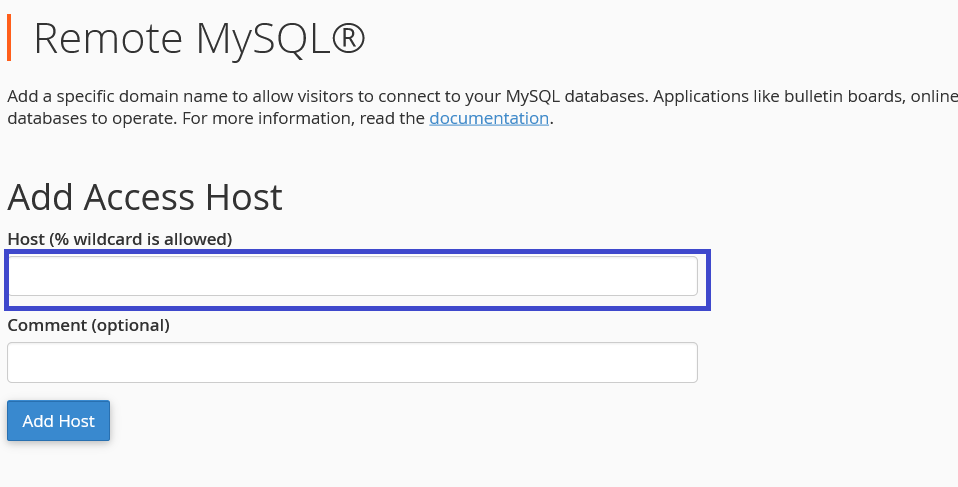
Step 4: Comment section is optional. You can keep note on the connection type i.e. Home IP or something else.
Step 5: click on Add Host.
You will then see a message stating the host IP address was added to the access list. Now, since you have added the IP address to remote MySQL connections you will be able to connect to the databases. You can add as many IP addresses as you need.
Using a Wildcard to allow all IP’s
You may find you need to use a wildcard if your IP address changes regularly. You can add a wildcard by using the % symbol. This will add all IP addresses in that range.
For example, if you want to list all IP addresses in the range 129.23.85.1 to 129.23.85.255 you’d add the IP address 129.23.85.%.
How to connect remotely to MySQL Database using MySQL Workbench
MySQL Workbench is a visual tool for database architects and developers. MySQL Workbench provides data modeling, SQL development, and comprehensive database administration tools, and much more. MySQL Workbench is available on Windows, Linux, and Mac OS X. You can download it here.
Once MySQL Workbench is installed, please follow the steps below to connect to your database:
- Open MySQL Workbench.
- Click New Connection towards the bottom left of MySQL Workbench.
- In the “Set up a New Connection Dialogue” box, Type your Database connection credentials. The credentials will be like the following: Connection Name: You can name this whatever you like.
Connection Method: Standard (TCP/IP).
Hostname: You can use your domain or our your server’s IP address.
Port: 3306
Username: the user you created for the database.
Password: the password for the database user that was created.
Default Schema: This can be left blank. - Click Test Connection.
- Type your password and click the “Save Password in Vault” checkbox. Click Ok.
- MySQL Workbench should say “Connection parameters are correct“. Click Ok.
- Click Ok again to accept the connection settings.
- Under the SQL Development section, you will see your connection listed in the Open Connection to Start Querying box. Click your newly created account.
- Now you will see the databases list in the area on the left.
That’s all! Now you know how to connect remotely to your MySQL database.