
If you’re ready to establish your online presence, ordering a domain name at VernalWeb is a straightforward and efficient process. This guide will walk you through the steps to successfully order a domain name from our platform. We strive to make the experience seamless and hassle-free for our customers.
Domain Registration Process:
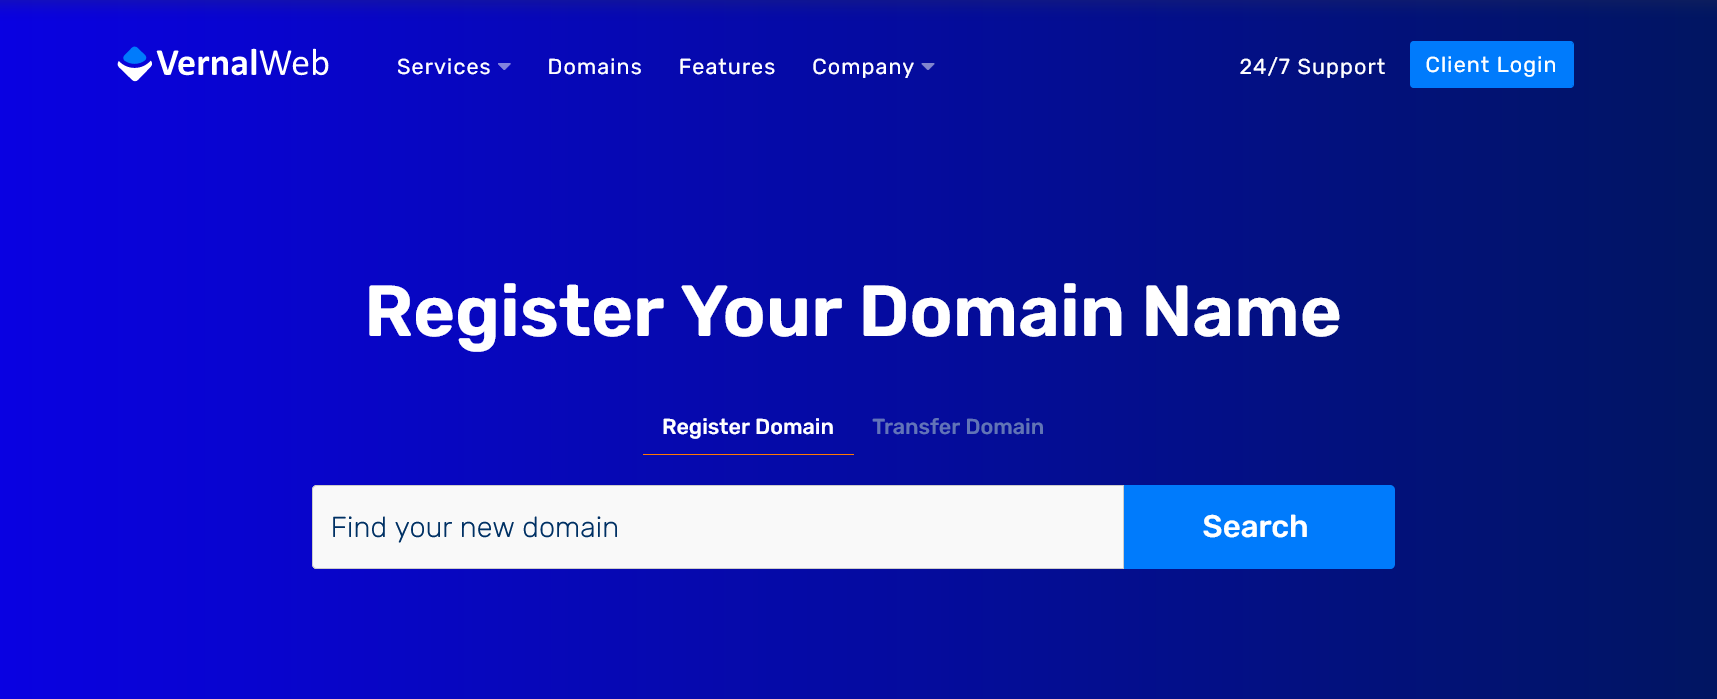
Visit Website: Visit our website Vernalweb.com & click on Domains section in the menu bar.
Search Domain: Type your domain name with your desired extension (.com, .net, .io or anything you prefer). Hit the Search button.
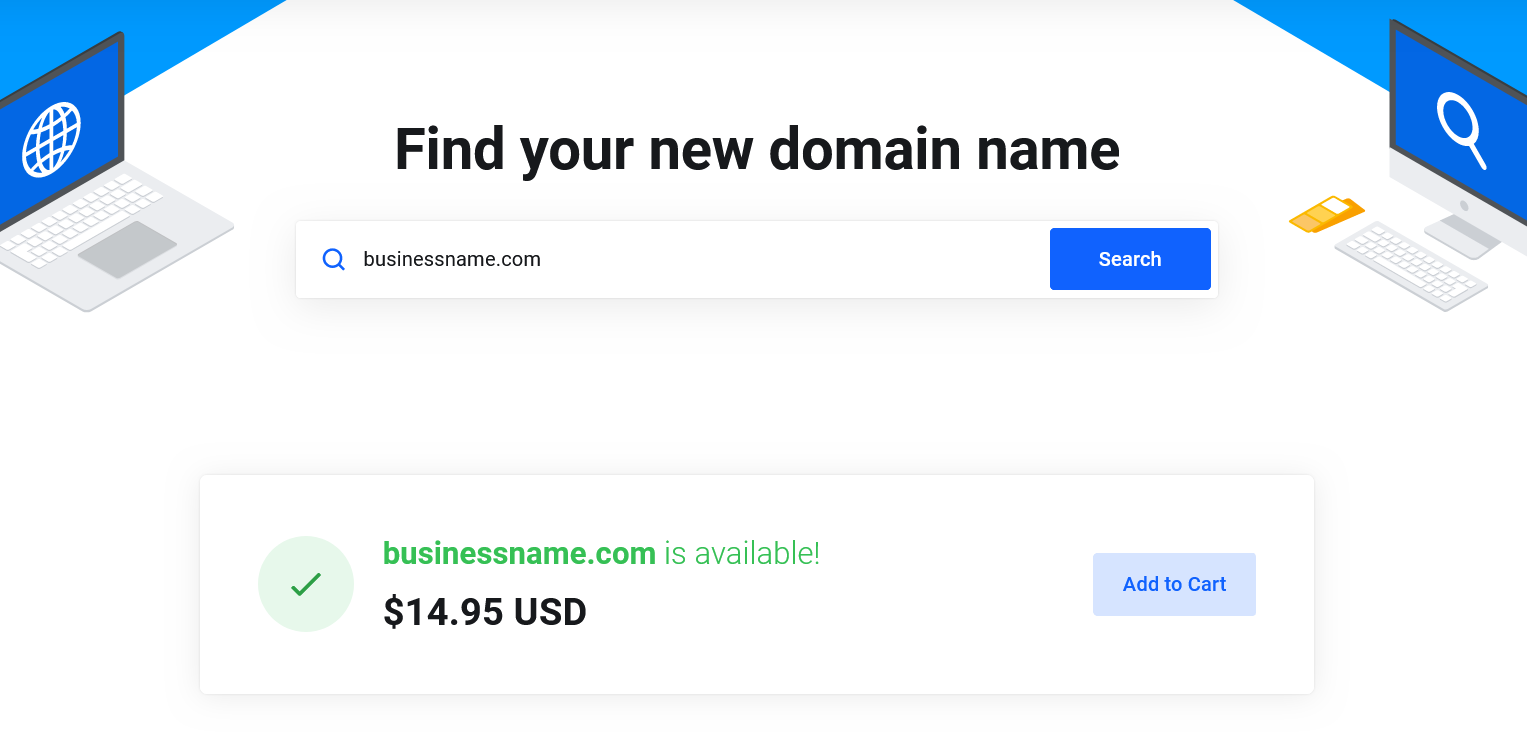
Add to Cart: You will be redirected to the domain availability page. If your desired domain is available, click Add to Cart button. Now click Continue.
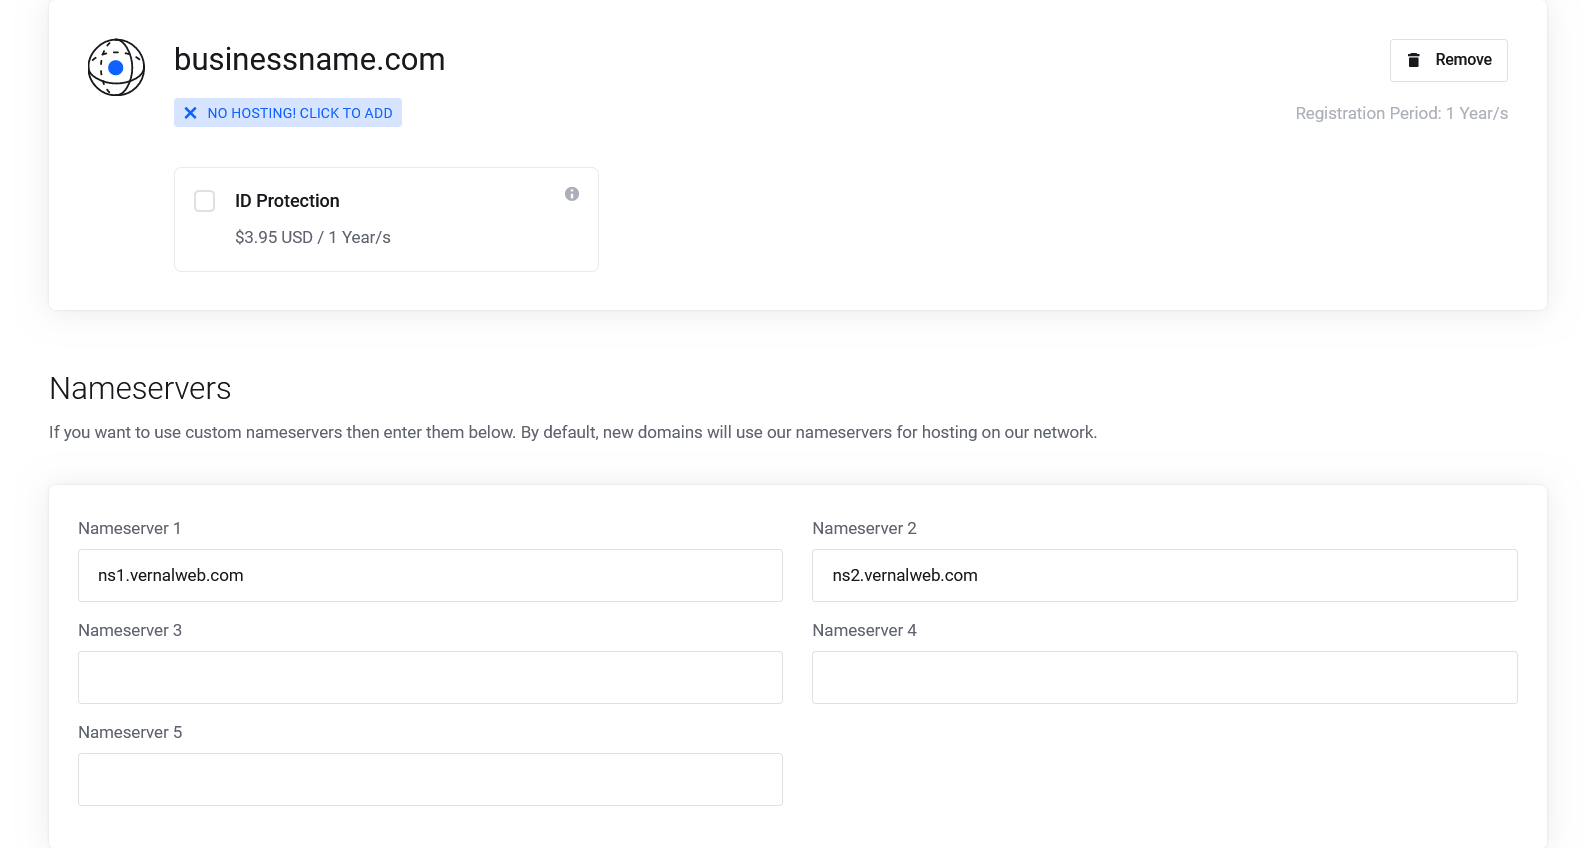
Domain Privacy: Here you can opt for domain privacy protection to keep your personal information confidential. If you want to enable Domain Privacy, check mark ID Protection. Scroll down to the Nameservers section to insert name servers if you have or keep it default and click Continue.
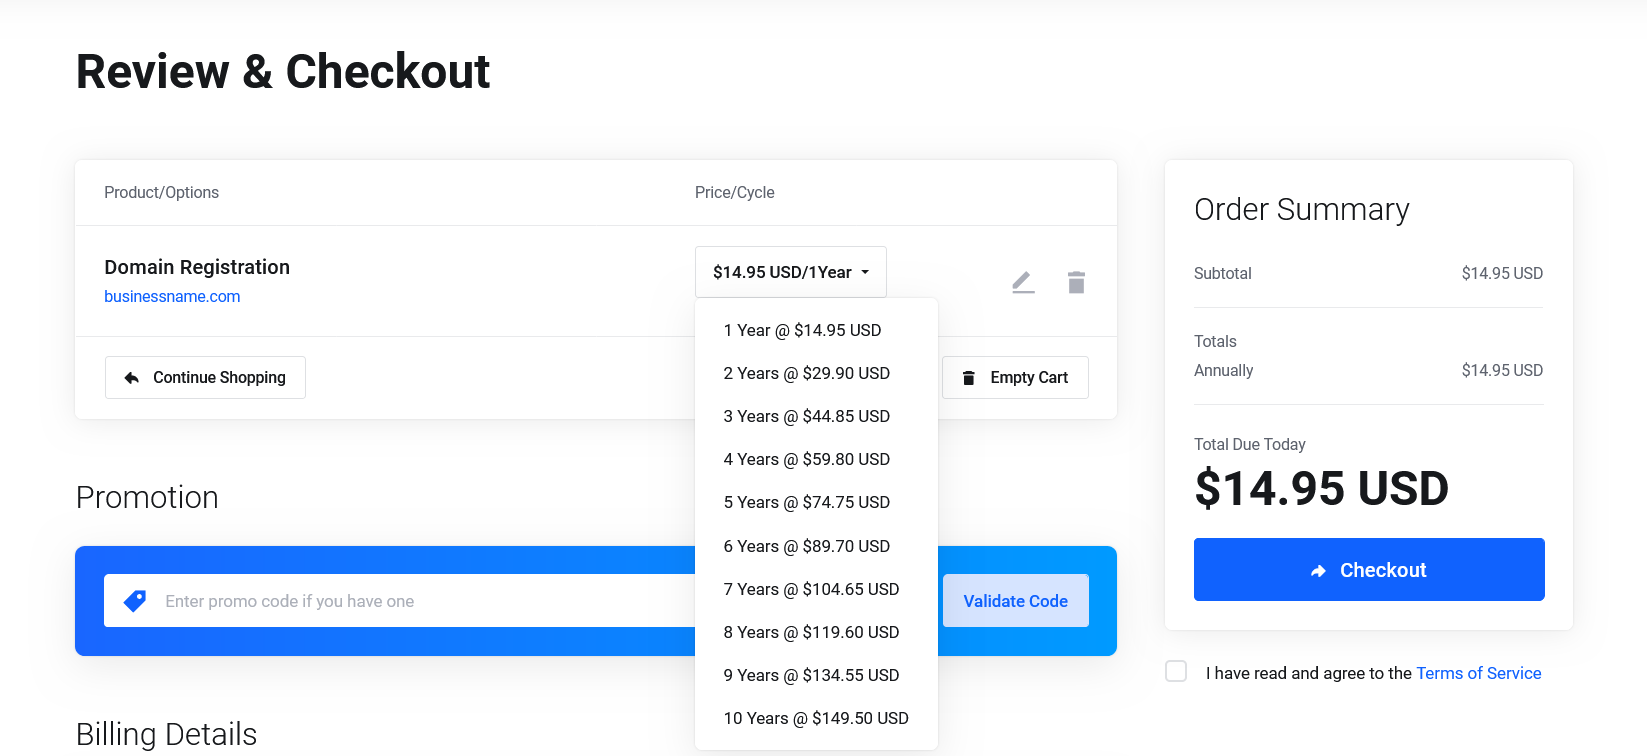
Review & Checkout: Choose the registration period that suits your needs, such as 1 year, 2 years, or more. Take a moment to review your order details, including the domain name, and related fields. Double-check that everything is correct and make any necessary adjustments. If you have any discount code, insert your coupon in the Promotion field and click Validate Code. Fill in the required fields accurately, including your name, email address, and other relevant details. It’s important to provide valid contact information as it will be associated with your domain registration. Choose your preferred payment method. Once you are satisfied, hit the Checkout button. Don’t forget to check mark “I have read and agree to the Terms of Service” before placing order.
Domain Activation: Once the payment is successfully processed, you will receive a confirmation email with the details of your domain registration. Your domain will be activated promptly, and you can start using it for your website or email services.
We hope this tutorial helps you find the perfect solution. If your like our tutorials, definitely you’ll love our support. All VernalWeb hosting plans include 24/7 support from our amazing inhouse support staff. Check out our web hosting plans and have your website migrated today!