Looking to get started with a hosting account from VernalWeb? In this article, we’ll walk you through the process step-by-step.
How to Order Your Hosting Account
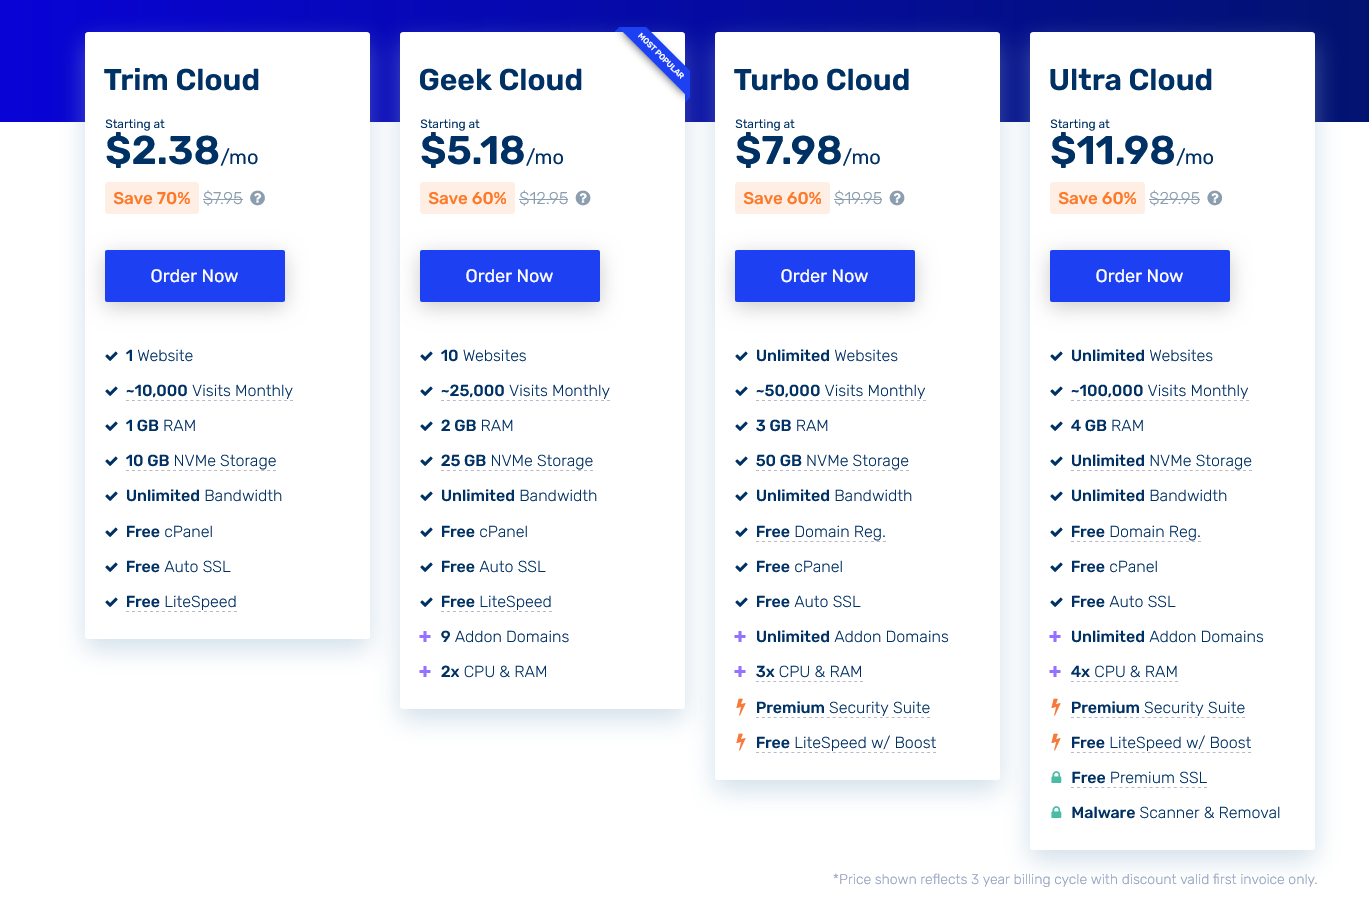
Visit our website and Take a moment to explore the various hosting options we offer, including Shared Hosting, Reseller Hosting, VPS Hosting, & Dedicated Hosting. For demonstration, we have selected our most popular web hosting plans and we will order Trim Cloud package here.
Select Hosting Package: On the service page, you will find hosting packages to choose from. Click on the Order Now button.

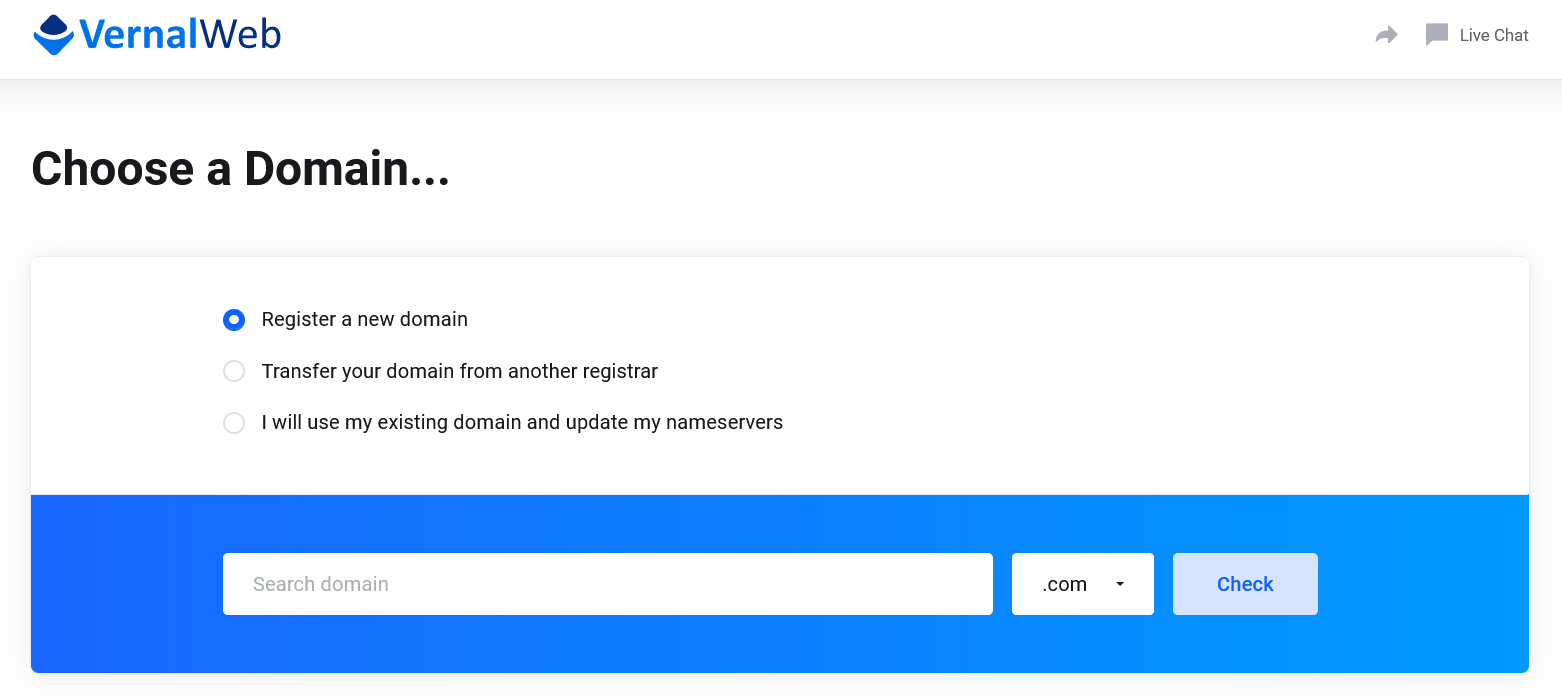
Choose a Domain: If you don’t have a domain name yet, you can register a new one directly through VernalWeb. Simply enter your desired domain name in the search box and check its availability. If the domain is available, you can proceed to add it to your order. Alternatively, if you already have a domain registered elsewhere, you can simply update the nameservers to point to VernalWeb.

Configure Hosting Account: After selecting your hosting package and domain, you’ll be prompted to configure your hosting account. You can choose your desired Billing Cycle, Choose available Addon Services like premium SSL, Email Security etc. Once done, click on the Continue button.

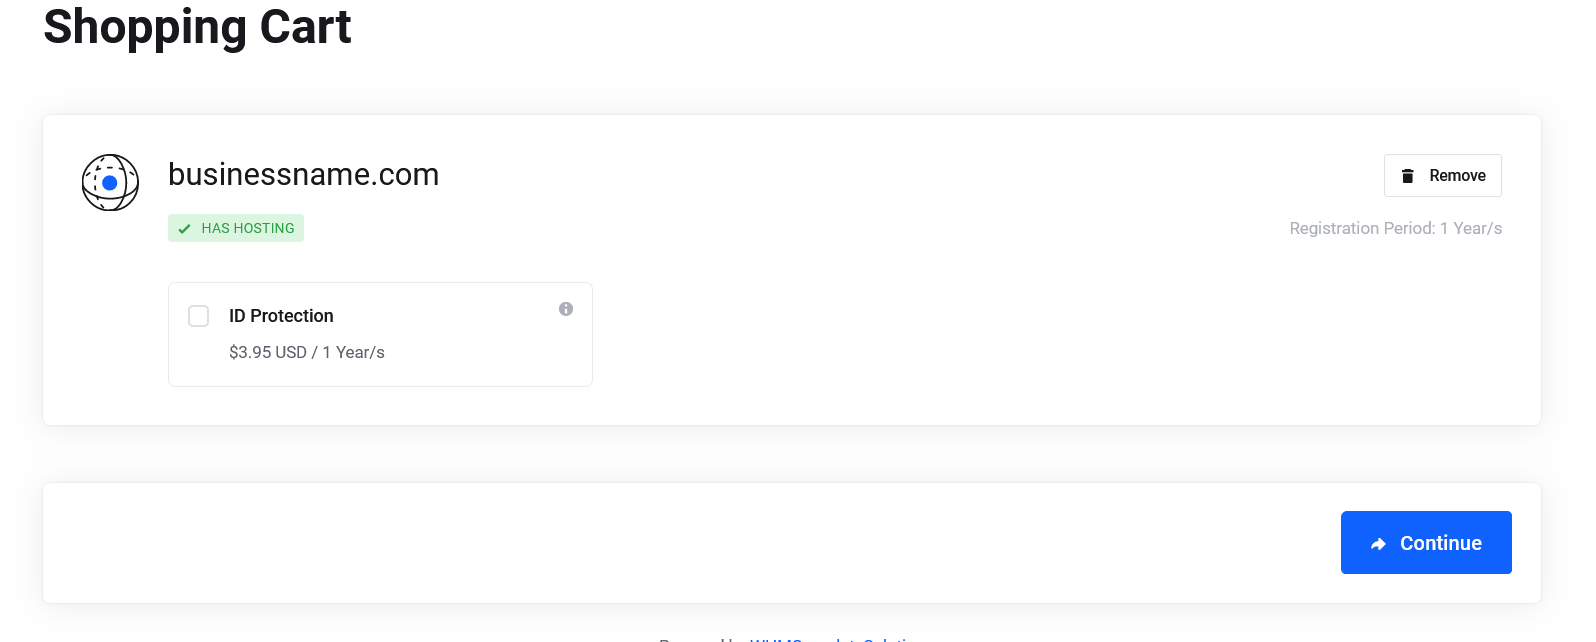
Configure Domain: You can enable Domain Privacy in this page. Check mark ID Protection to enable it. Now click Continue.

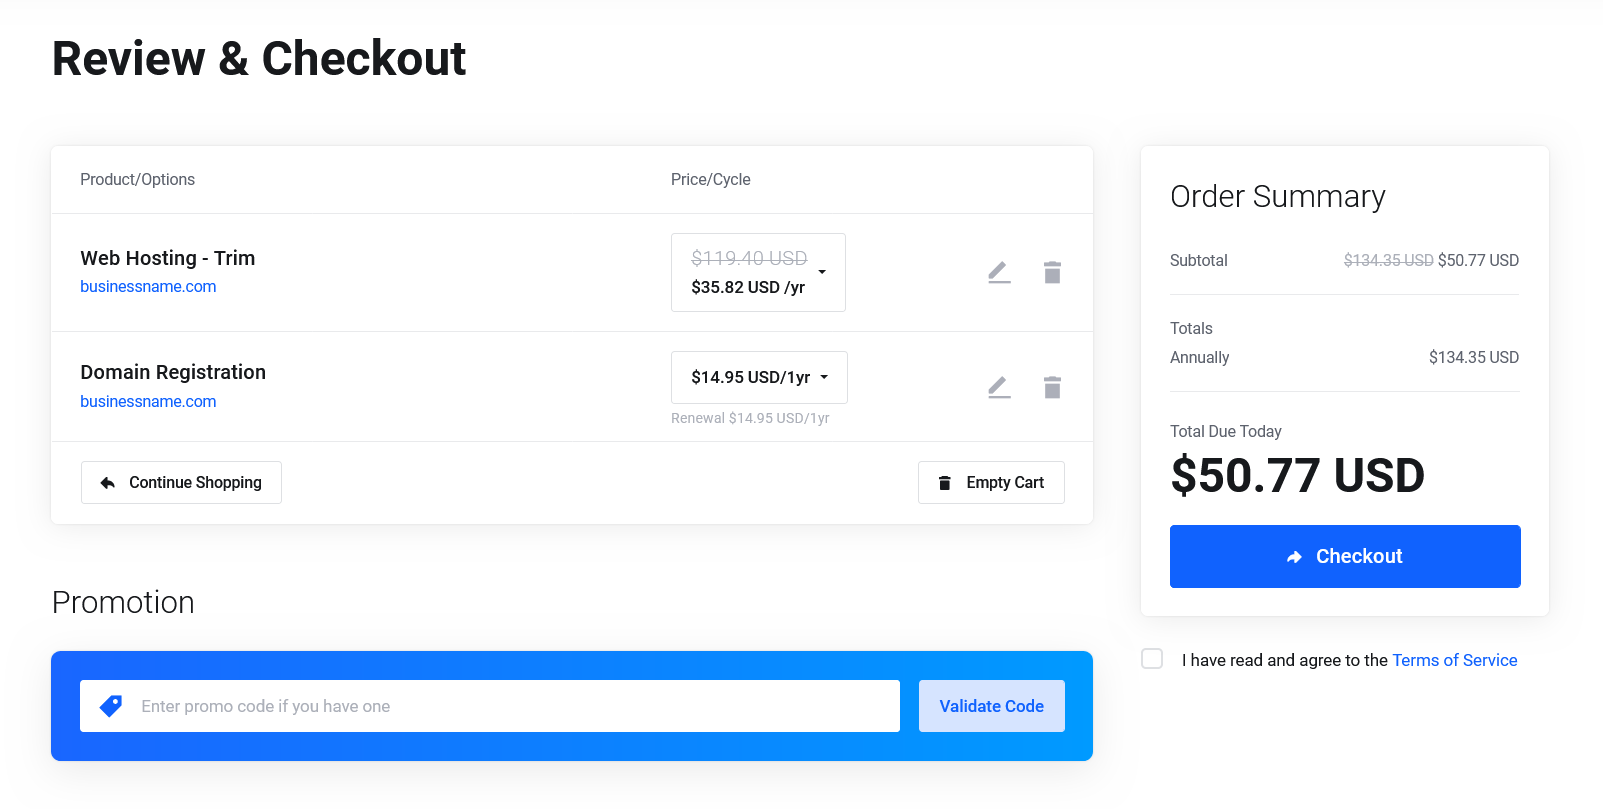
Checkout: Take a moment to review your order details, including the hosting package, domain name, and related sections. Double-check that everything is correct and make any necessary adjustments. If you have any coupon code, insert it in the promotion field and click Validate Code. Fill up all the billing information and choose your preferred payment method. Once you are satisfied, hit Checkout button. Don’t forget to check mark “I have read and agree to the Terms of Service” before placing order.

Complete Order: Complete the Payment & your service will be activated as soon as we’ve received your Payment.