
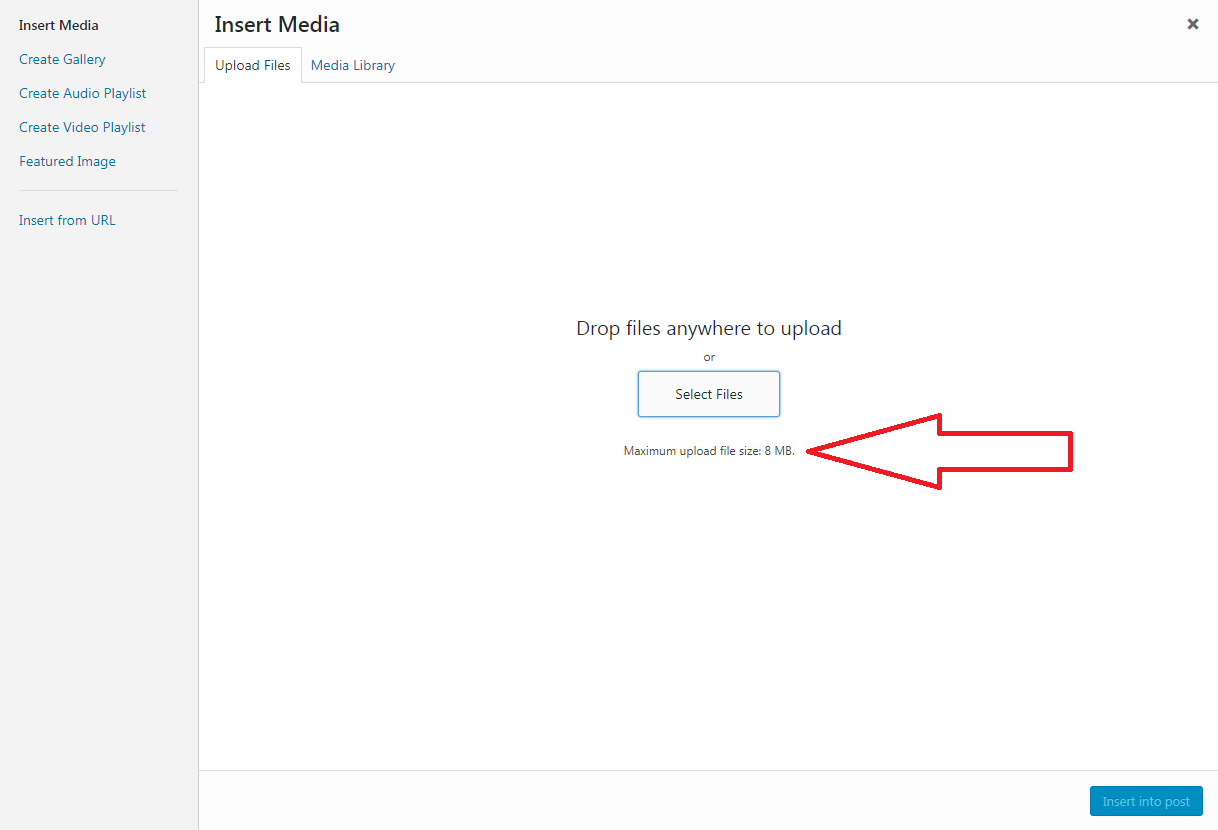
Very often we face an error while uploading a file into WordPress. It’s regarding the file size. There is a limitation of size on uploading files. And the limitation is in between 2 MB to 8 MB depending on different Web Hosting Providers. It’s not so hard to get rid of this error. There are different ways to resolve this issue. Let’s learn how to increase file upload size for WordPress.
Note: be noted that this tweaks are for intermediate level users & may not work with some Shared Hosting Providers. In that case you have to ask your provider to increase the maximum size of files that can be uploaded.
Method 1: Create or Edit an existing php.ini File
If you’re on a Shared Hosting environment you won’t see a php.ini file in your root directory. It happens most of the cases. If you don’t see one simply create one & put it in the wp-admin folder of your WordPress Installation. Put the codes below on that file:
upload_max_filesize = 64M
post_max_size = 64M
max_execution_time = 300
This method works for most of the users who are on a Shared Hosting Environment. If this doesn’t seem to work, you may try the second method.
Method 2: Using .htaccess
If the Method 1 doesn’t work you can try modifying .htaccess of your root directory. Maximum file upload size can also be increased by using .htaccess and many people use this too. Simply log into your cPanel & navigate to File Browser. Search for .htaccess in your root directory. If you can’t find it out in the root folder, may be it’s hidden. Check out this article to show Hidden Files. Now open your .htaccess file & put the following codes in it:
php_value upload_max_filesize 64M
php_value post_max_size 64M
php_value max_execution_time 300
php_value max_input_time 300
Again, we’re reminding you that this tweaks may not work if you’re on a Shared Hosting. If these don’t work just simply contact your hosting provider.
We hope this tutorial helps you find the perfect solution. If your like our tutorials, definitely you’ll love our support. All VernalWeb hosting plans include 24/7 support from our amazing inhouse support staff. Check out our web hosting plans and have your website migrated today!