cPanel is being used by millions of users now a days. Creating a CNAME Record is not a common case that happens usually, but sometimes advanced cPanel Users need to create CNAME Records. CNAME is a sort of DNS Record which is used to point a hostname elsewhere. Let’s learn how to create CNAME Records in cPanel
Step by step guide to Create CNAME Record in cPanel:
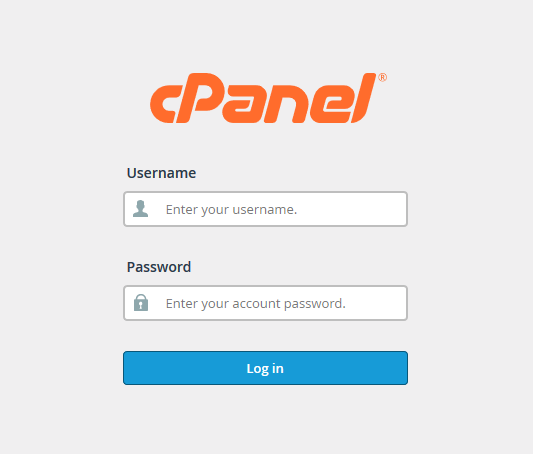
STEP 1: Log into your cPanel account using your Username & Password.
STEP 2: Search for ‘DOMAINS’ section. Click on ‘Zone Editor’ in ‘DOMAINS’ section.
STEP 3: In the ‘Zone Editor’ screen you’ll see a link with ‘CNAME’ anchor right beside your domain name. Click on it.
STEP 4: Enter ‘Name’ & ‘CNAME’ values. Click on ‘Add a CNAME record’.
It may take several seconds to be completed. You’ll see a notification on the right top of your screen when adding CNAME record is completed.
We hope this tutorial helps you find the perfect solution. If your like our tutorials, definitely you’ll love our support. All VernalWeb hosting plans include 24/7 support from our amazing inhouse support staff. Check out our web hosting plans and have your website migrated today!


